This section describes how to configure user groups and user permissions.
Defining different users with different access profiles has some advantages:
To open the User Groups dialog, select ![]() Setup in the Administration menu, or click the Setup dialog launch icon
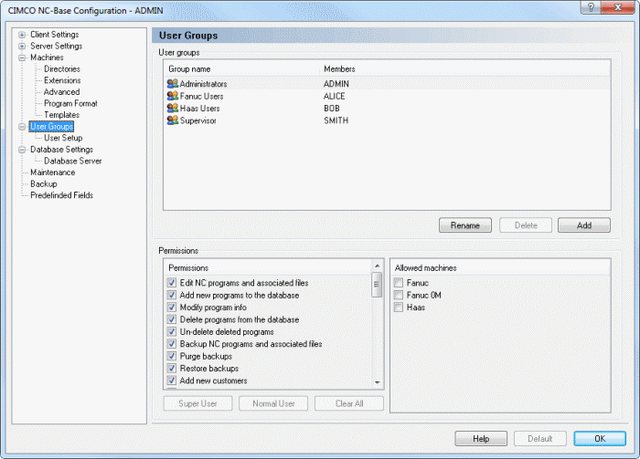
Setup in the Administration menu, or click the Setup dialog launch icon ![]() in the Database menu. Then click on User Groups in the left window of the CIMCO NC-Base Configuration dialog. The following window appears:
in the Database menu. Then click on User Groups in the left window of the CIMCO NC-Base Configuration dialog. The following window appears:
 |
|
User Groups configuration dialog. |
This field shows the list of all defined groups and their members.
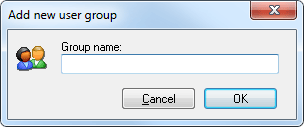
Click this button to add a new user group. The following window appears:
 |
|
Add a new user group. |
Enter the name of the group and click OK. If you want to exit the window without any changes, click Cancel.
To delete an user group, highlight the user group and click Delete.
|
The administrator user ADMIN cannot be deleted. |
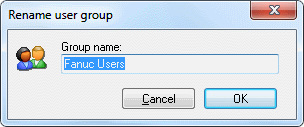
To rename a user group, highlight the user group and click Rename. The following window appears:
 |
|
Rename user group. |
Assign a new name to the user group and click OK, or click Cancel to exit without any changes taking effect.
There are two access levels: Administrator and User. You can permit a new user access on administrator level.
This field contains a list of all defined permissions. Check the boxes in this list to allow the highlighted user group access to the corresponding functions.
Click this button to select the super user permissions automatically.
Click this button to select the normal user permissions automatically.
Click this button to clear all permissions for the selected user group.
This field shows a list of all defined machines. Check the box next to the machine group to allow the selected user group access to the machine.